
If your child is removing their thumb from the device, but the rest of the device stays on, it usually means that the device is not adjusted properly or is not sized properly.
However, if the above does not help prevent removal, it may be necessary to wrap the thumb with medical tape, or to utilize a splint.
Method 1: using medical tape to increase thumb diameter and inhibit bending of the thumb.
The first thing to try is to wrap medical tape around the thumb. We recommend using non-stretching, fabric based medical tape, that is sticky enough to prevent unraveling on it’s own. We recommend using Durapore by 3m, which is a safe to use, silk-like cloth tape that is specially formulated for applications in situations like these.
By wrapping several layers around the thumb, the space between the thumb and the tube is effectively reduced. This makes it harder to remove the thumb. Also, the added material around the middle knuckle makes bending the thumb slightly harder.
Important: after applying this tape to the thumb, do not ask the child if they can remove their thumb from the device! Instruct them not to touch the device, and keep a close eye on them, especially at night. We recommend following the behavioral techniques in the instructions, to maximize compliance.
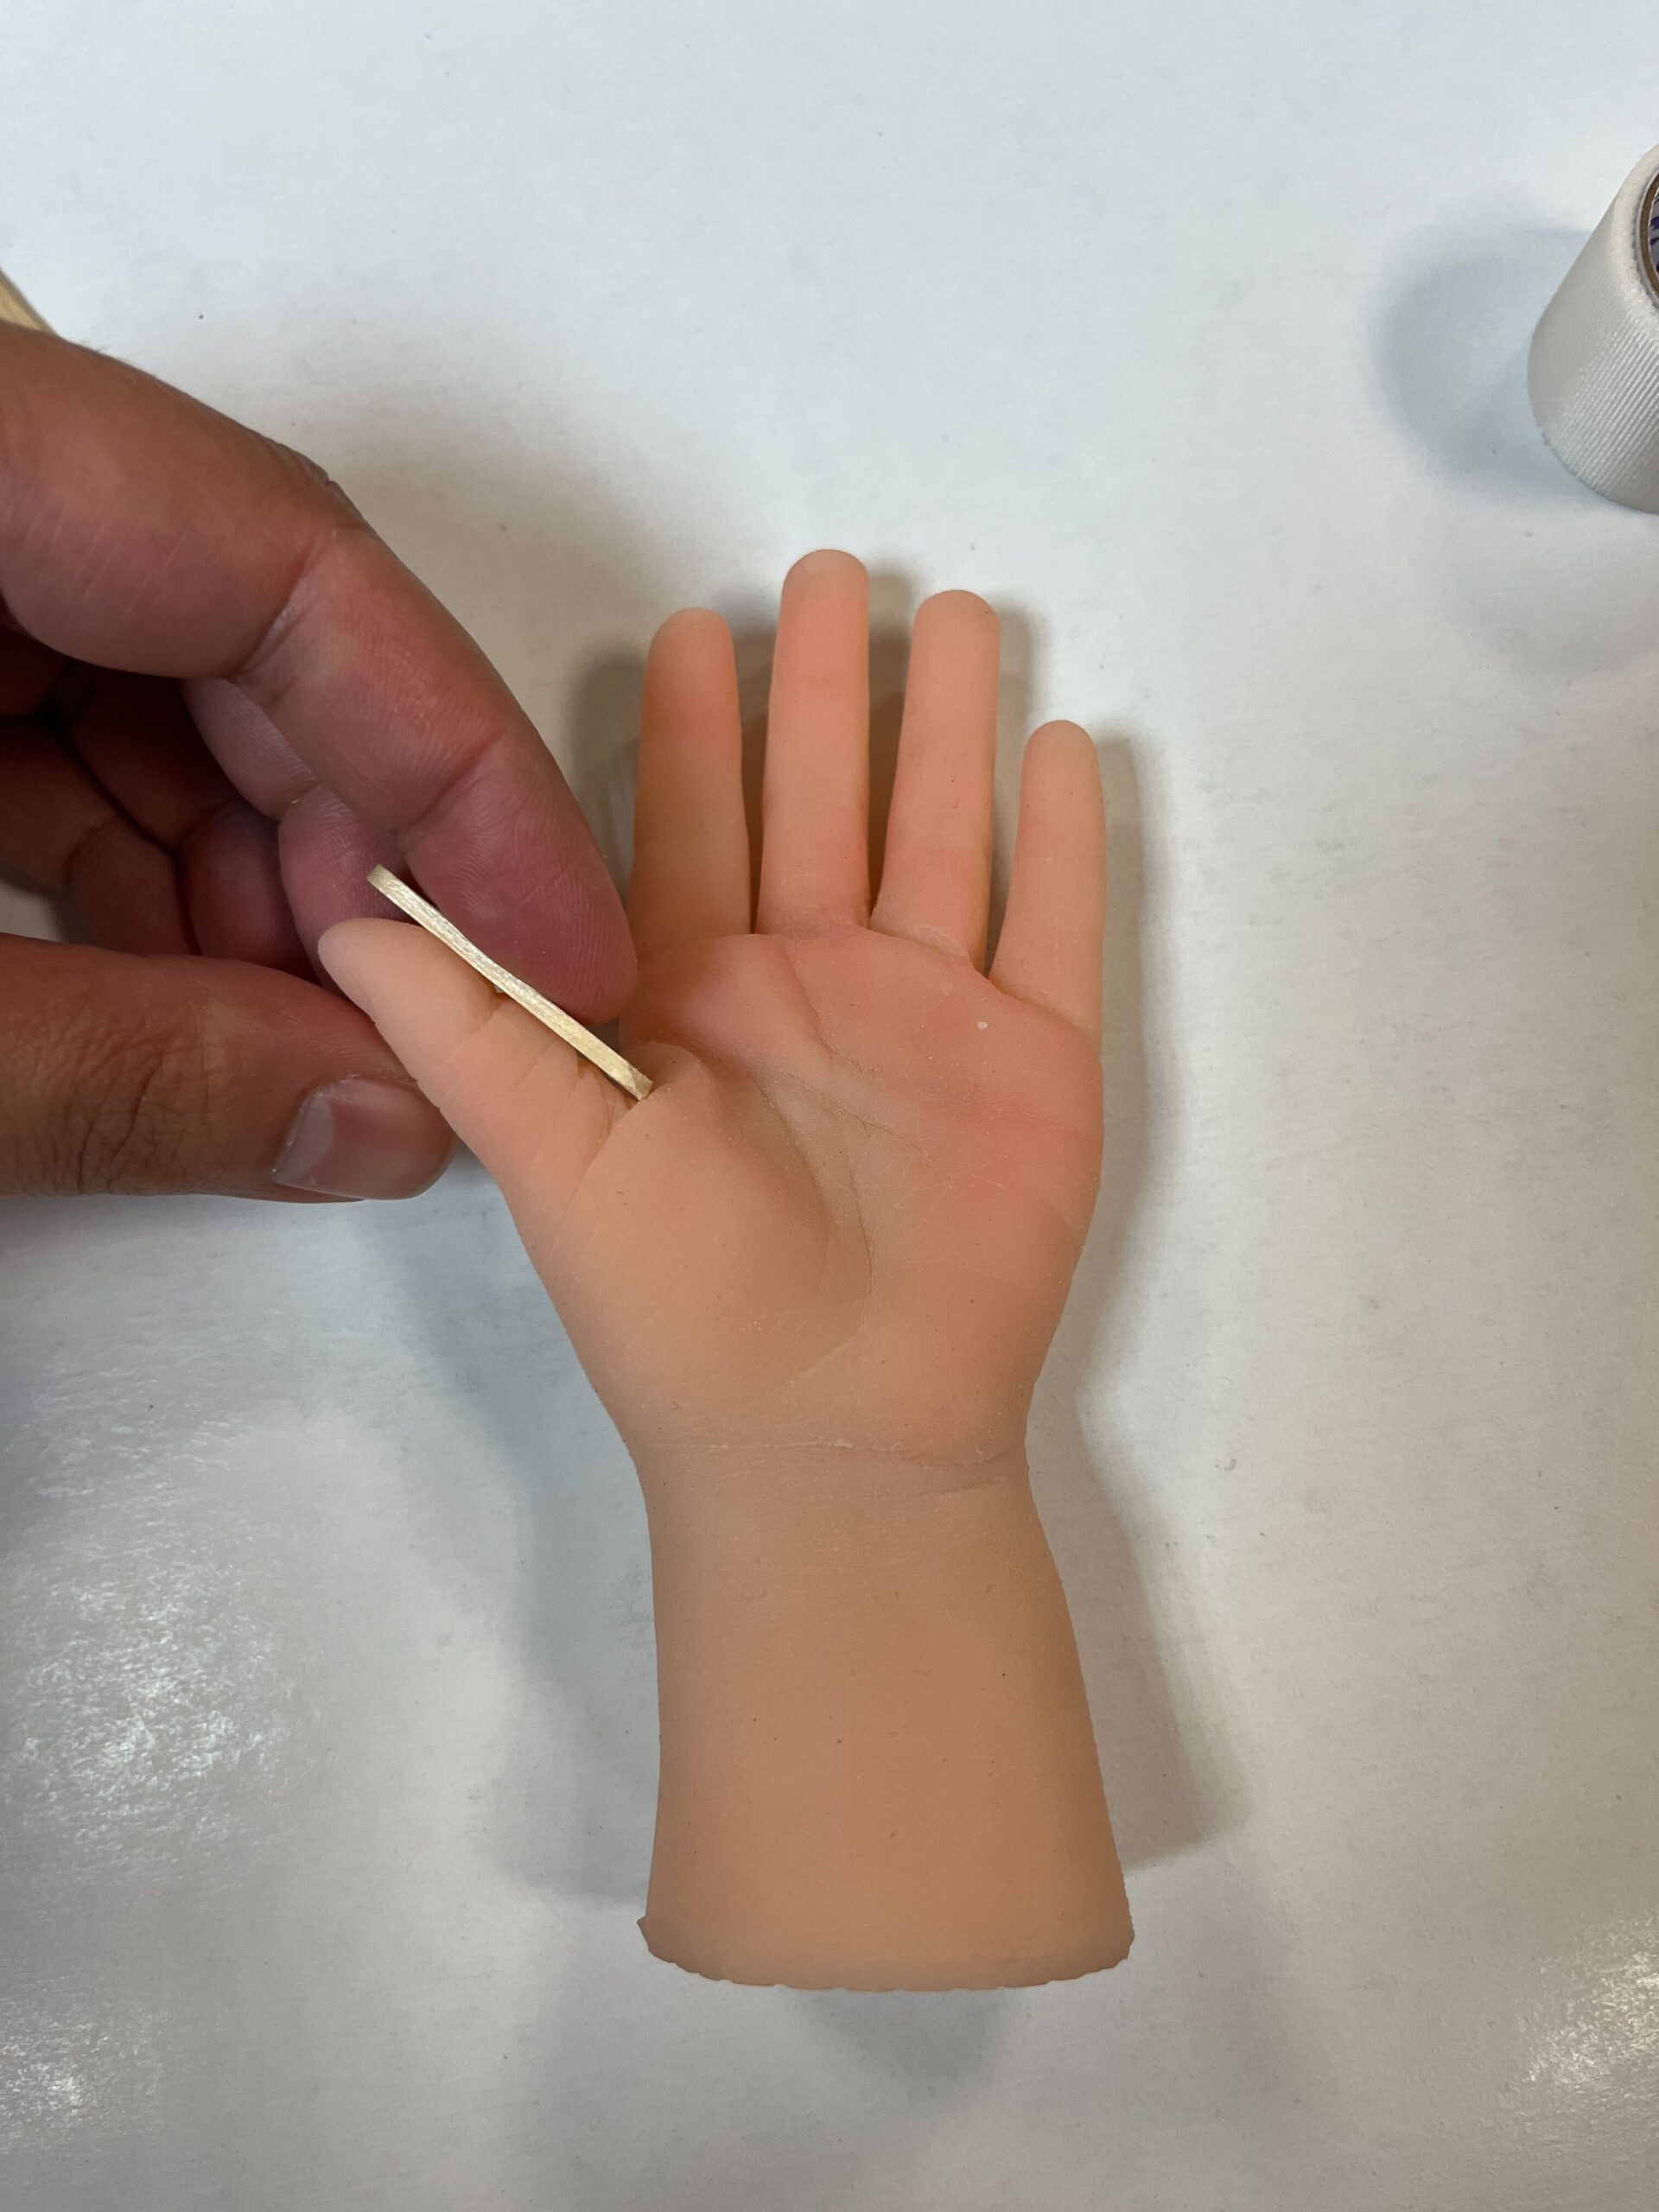
Method 2: creating a splint to prevent thumb removal.
The purpose of the splint is to prevent the thumb from bending inside of the tube. This can be accomplished by applying a rigid member, such as a popsicle stick, craft stick, or tongue depressor, alongside the thumb, from top to bottom.

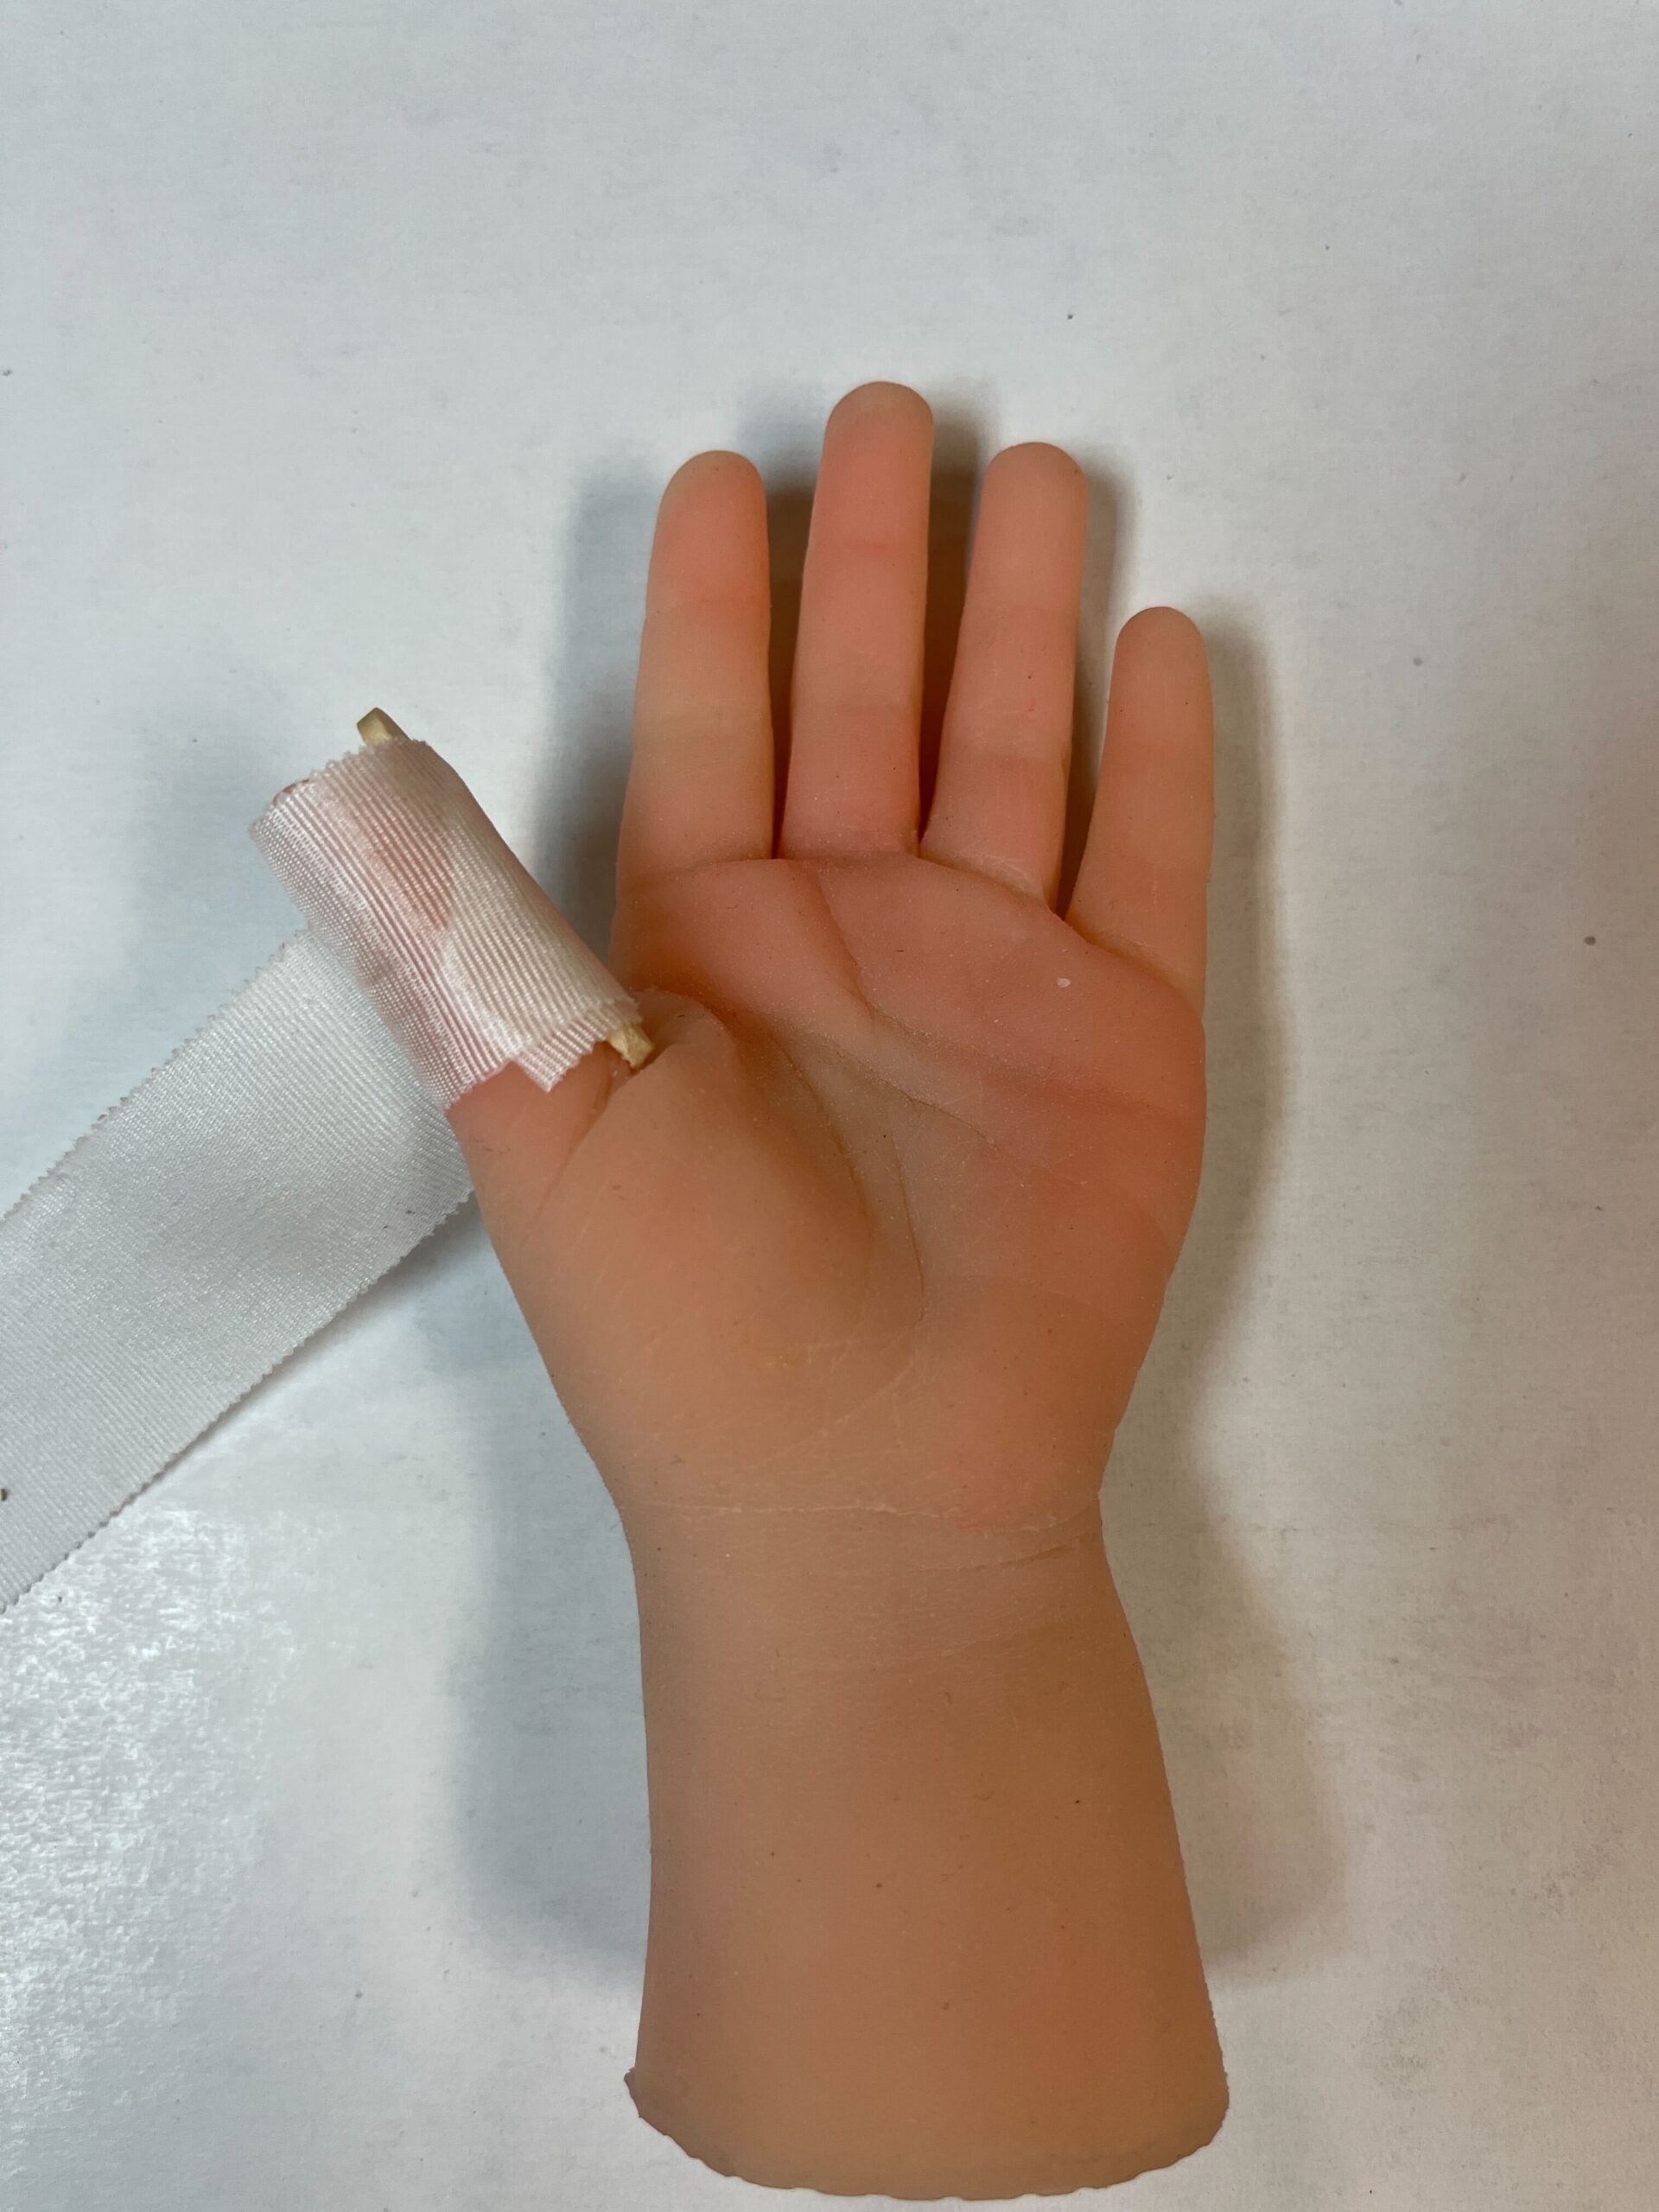
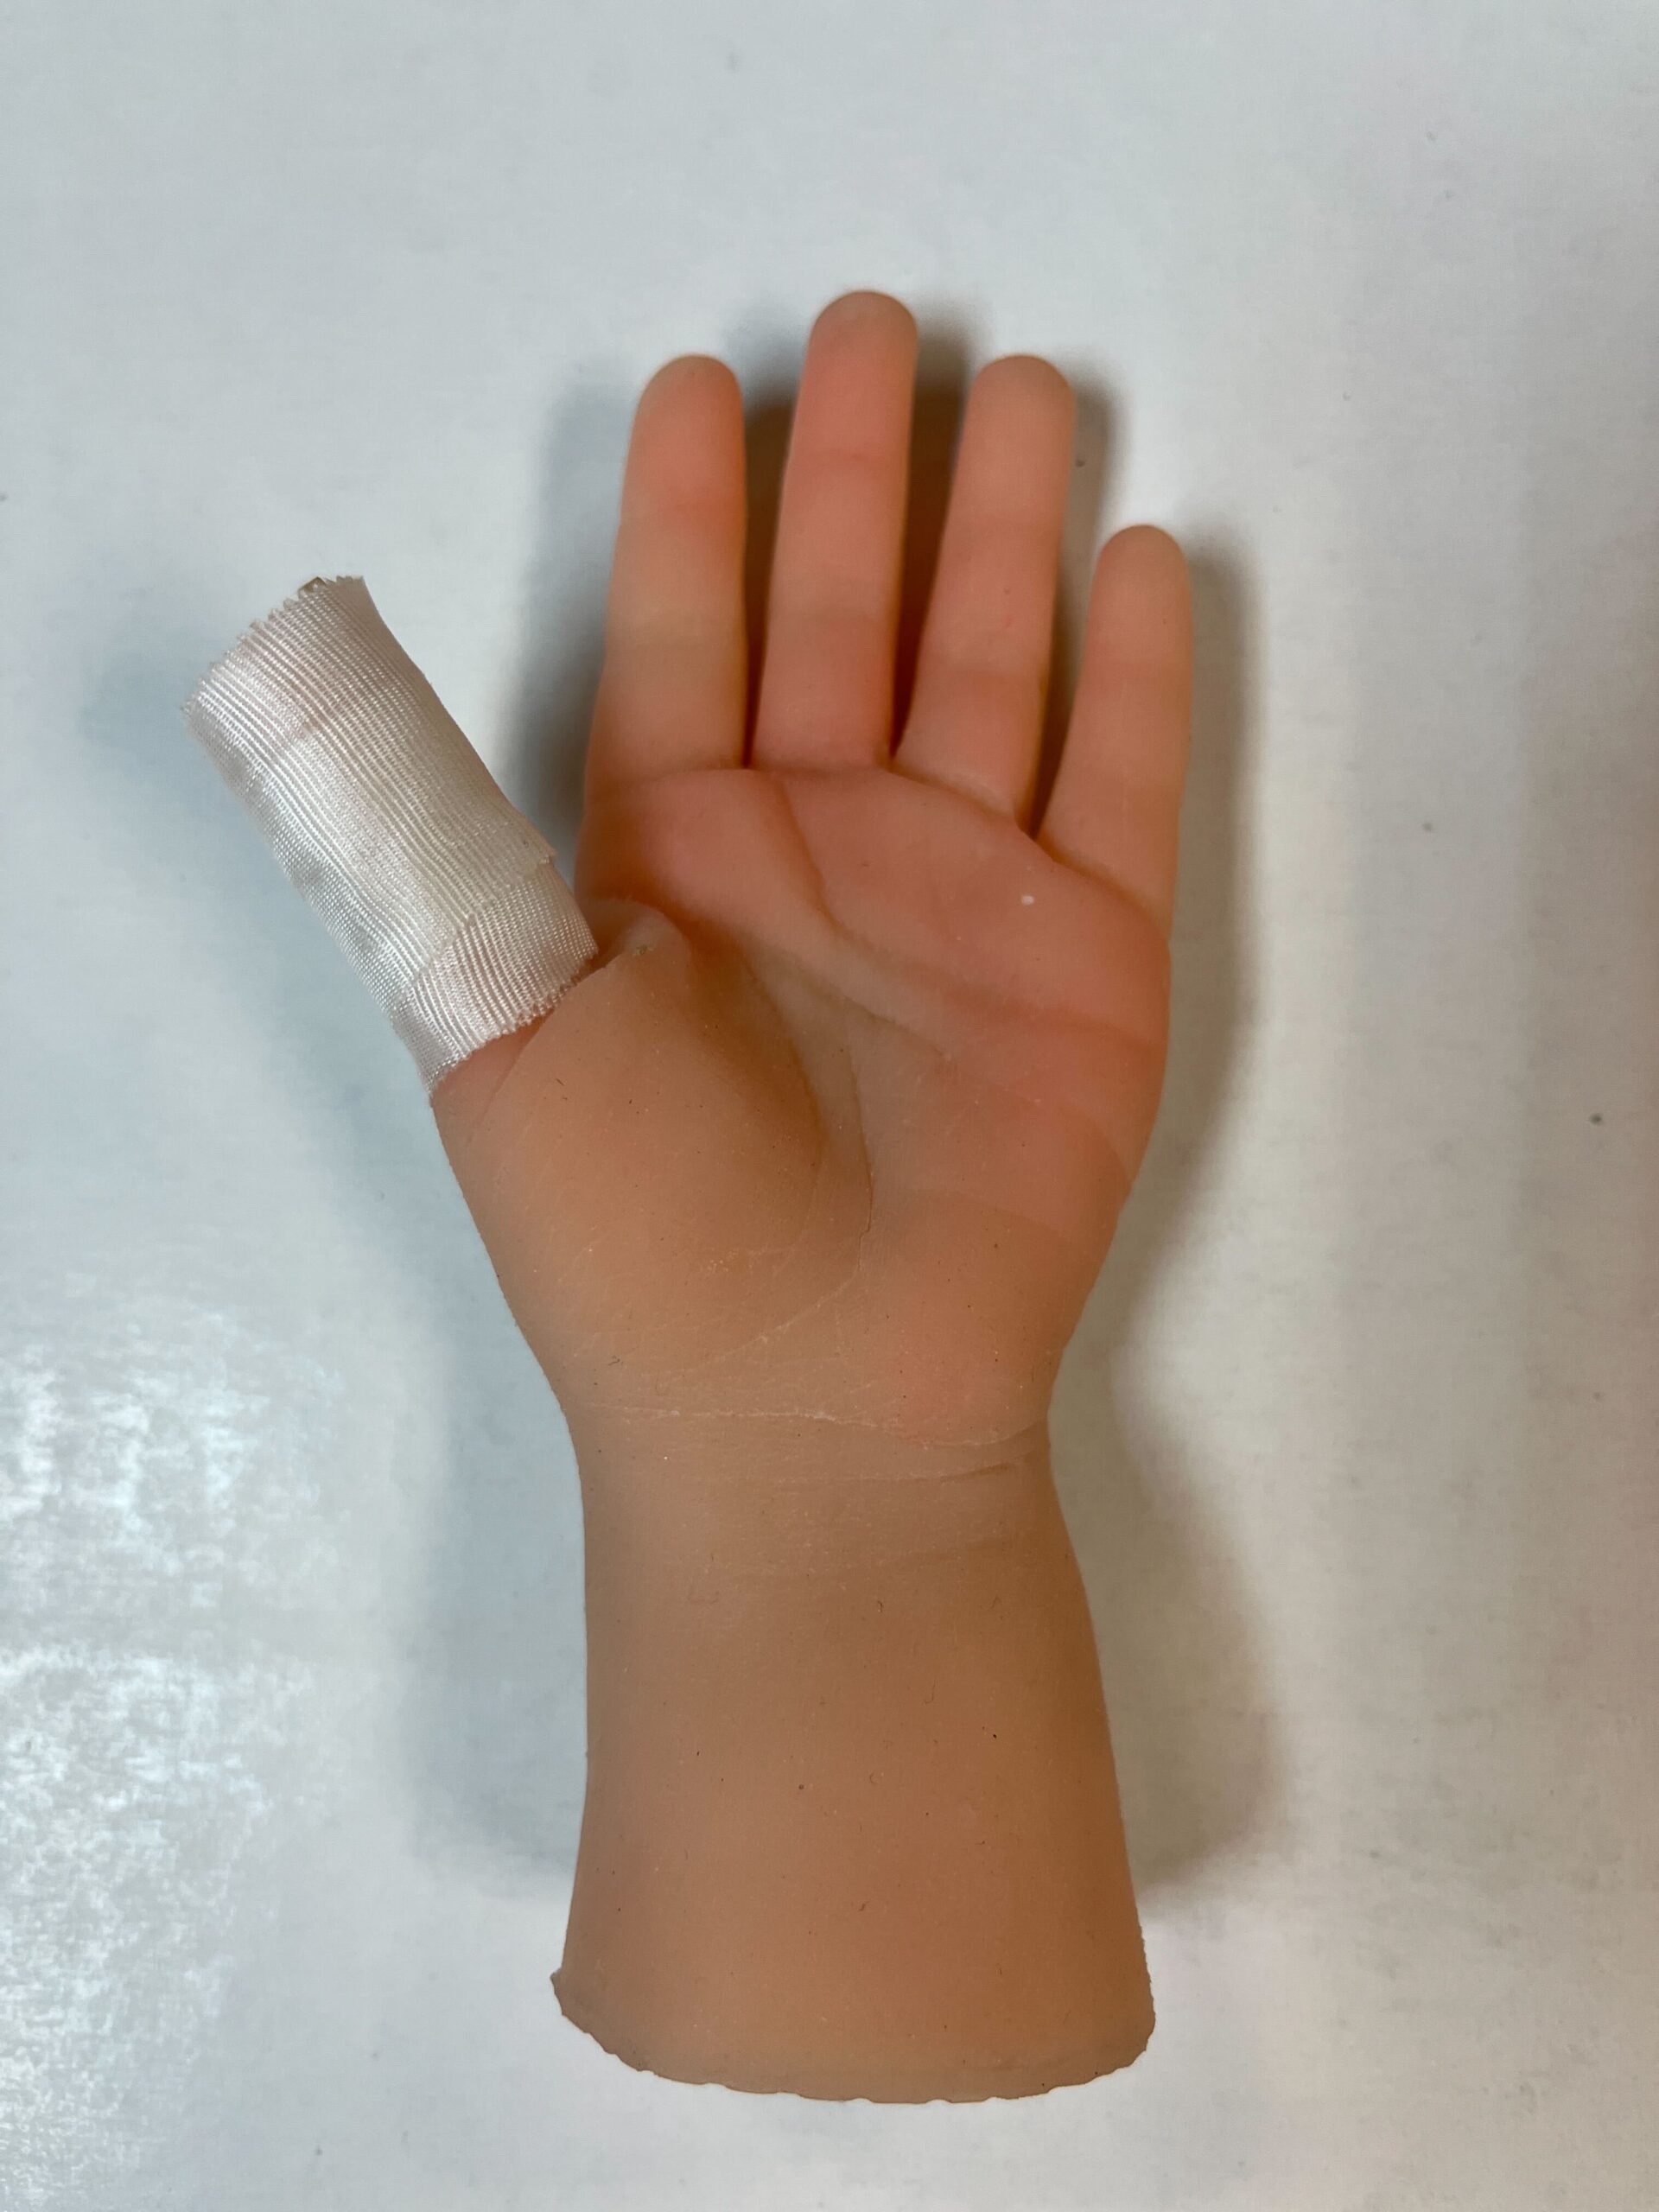

If you follow the instructions above, the device will prevent access to the splint, and the splint will prevent the child from being able to bend their thumb, which is how they typically remove it. It’s usually not necessary to utilize this splint at all times; really it can be used only when the child is most likely to try to remove the device (such as at night). If you see the child showing signs that they no longer want to suck, you can stop using the splint and return to using just the TGuard.
Important: after applying this splint, do not test the assembly by asking the child if they can remove their thumb from the device! Instruct them not to touch the device, and keep a close eye on them, especially at night. We recommend following the behavioral techniques in the instructions, to maximize compliance.
If the above techniques fail to prevent removal, please take a photo showing how you have used them, and reach out to support for further instruction.